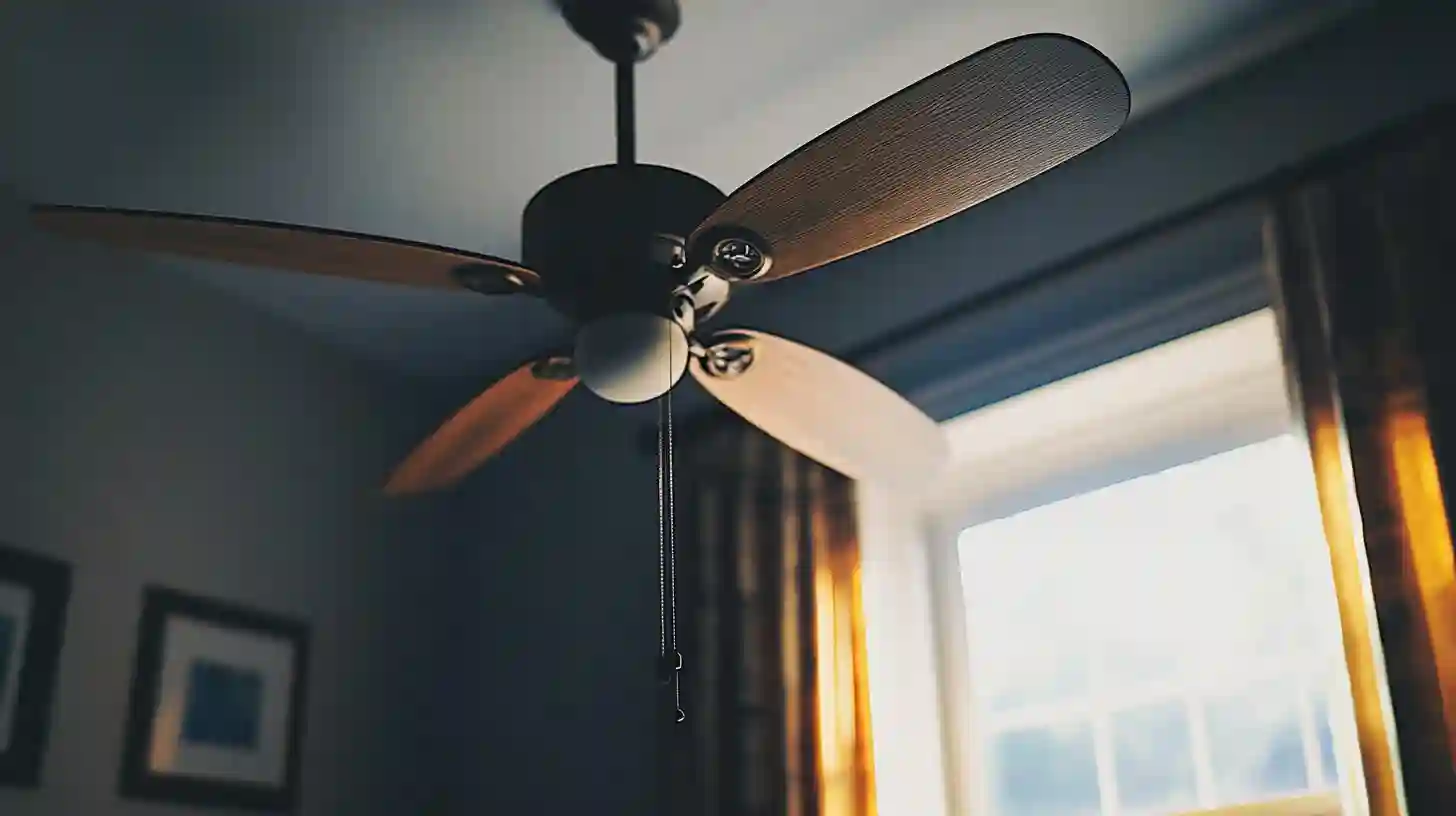
Installing a ceiling fan can greatly enhance comfort and aesthetics in your home. With the right tools and a little preparation, homeowners can successfully tackle this project on their own. If you're ready to dive into this task, follow these detailed steps to ensure a smooth installation process.
Before starting, gather all necessary tools and materials. The basic tools you'll need include a screwdriver, a drill, wire cutters, and a voltage tester. Additionally, make sure you have the ceiling fan itself, which typically comes with mounting hardware and a user manual. Always prioritize safety by ensuring the power supply is turned off at the circuit breaker to avoid any electrical accidents during installation.
Once you’ve gathered your tools, the next step is to choose the perfect location for your ceiling fan. Ideally, the fan should be installed in the center of the room, allowing for optimal airflow. Consider the height of your ceiling; a fan should be installed at least seven feet above the floor for safety and comfort. If your ceiling is particularly high, an extension downrod may be necessary to maintain an appropriate fan height.
The next step is to prepare the electrical box for installation. If one is already present, it needs to be rated for ceiling fan support, which is typically marked on the box itself. If there isn’t an existing box, or it isn’t rated, you will need to install a new electrical box designed to support a ceiling fan’s weight and movement. This often involves securing the box between ceiling joists or using a ceiling fan brace that extends through the drywall for support.
With the electrical box prepared, it’s time to connect the electrical wiring. Before you begin, double-check that the power is off using a voltage tester on the wires inside the box. You should see three wires: a black wire (hot), a white wire (neutral), and a green or bare wire (ground). If you’re replacing an existing fixture, take note of how those wires are connected to ensure a proper installation. Typically, the black wire from the ceiling connects to the black wire of the fan, the white wire to the white wire, and the ground wire to the green wire or the bare wire.
After securing the connections with wire nuts and ensuring that they are tight, gently push the wires back into the electrical box. Next, you’ll attach the mounting bracket that came with the ceiling fan package. The mounting bracket will secure the fan to the ceiling and, depending on the fan model, may include a switch for remote control operation or LED light connections.
Once the mounting bracket is in place, you can begin assembling the ceiling fan itself. Follow the manufacturer’s instructions carefully, as different fan models have varying assembly requirements. Generally, you will first attach the fan blades to the motor, then connect the light kit if applicable. It’s helpful to have an assistant hold the fan while you attach the blades to ensure it remains stable.
After the fan is fully assembled, lift it onto the mounting bracket, and secure it according to the instructions provided. It’s essential to ensure that the fan is firmly attached and does not wobble. This can be checked before completing the installation by gently tugging on the fan to confirm its stability.
Once the fan is in place, recheck all the electrical connections, ensuring no wires are exposed outside of the electrical box. If necessary, install the decorative cover that usually conceals the wiring connections. This helps create a polished look and adds an extra layer of safety.
The next step involves turning the power back on at the circuit breaker. Once the power is restored, test the ceiling fan to ensure it operates correctly. Begin by checking the fan speed settings and ensuring that the light fixtures, if included, work properly.
Lastly, take a moment to clean up your workspace, ensuring that all tools and packaging materials are properly disposed of or stowed away. This not only creates a tidy home environment but also helps in maintaining a safe space.
By following these steps with attention to detail, homeowners can successfully install a ceiling fan, turning a simple task into a gratifying accomplishment that enhances comfort and style in their living space. Enjoy your newly installed ceiling fan as it adds both elegance and functionality to your home.